
WordPressで料金表を作成できるPricing Table by Supsystic

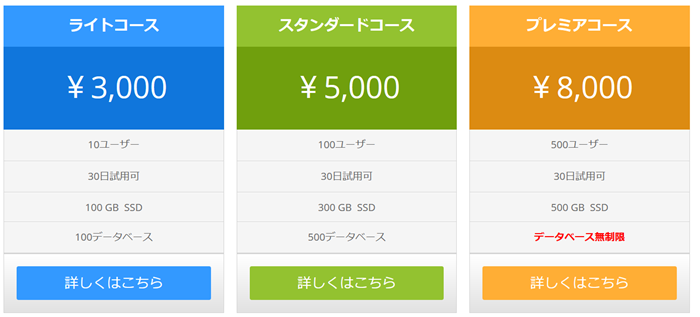
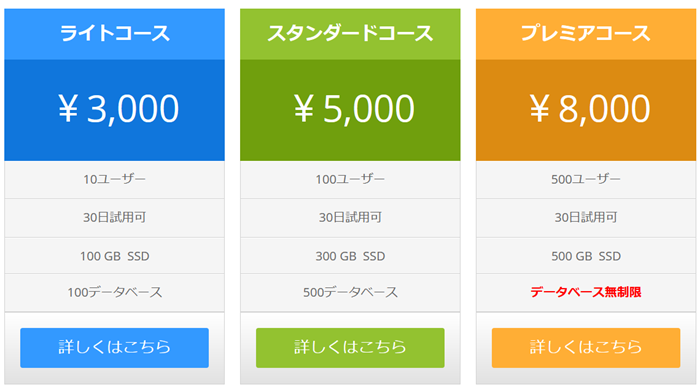
WordPressで作る企業サイトに欠かせない料金表。ゼロからの手作りは意外と面倒ですよね。そんなときはプラグインに頼ってみましょう。たとえば、Pricing Table by Supsysticプラグインを使うと、次のようにデザインされた料金表を画面上で組み立てることができます。tableタグやCSSと格闘する必要はありません。
以下、Pricing Table by Supsysticプラグインを例に、WordPressで料金表を設置するまでの手順を紹介します。
WordPressで料金表を作成する方法
「プラグイン」‐「新規追加」メニューからPricing Table by Supsysticプラグインをインストール、有効化します。

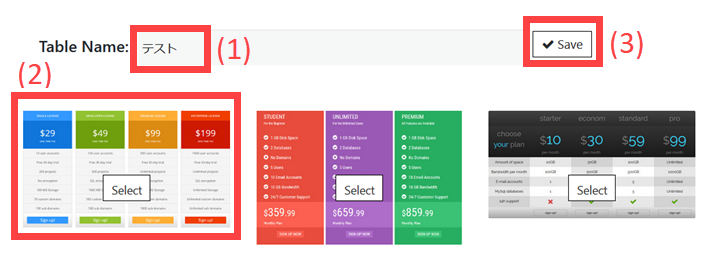
料金表を作成するため「Pricing Table by Supsystic」‐「Add New Table」メニューを開き、料金表の名前(1)を入力してデザインを選択(2)し、「Save」(3)をクリックします。
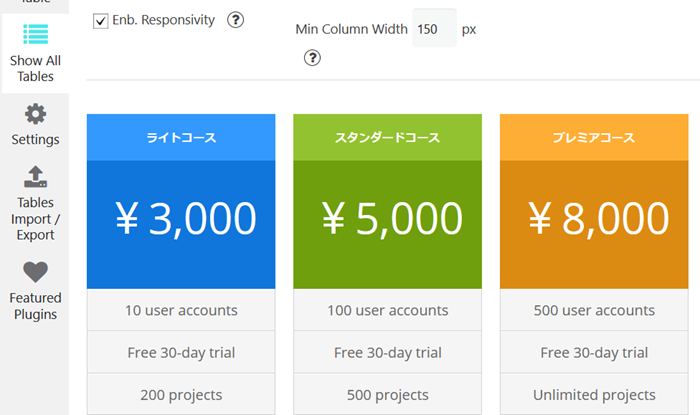
すでにサンプルの料金が入力されているので各セルの料金やテキストなどを編集します。
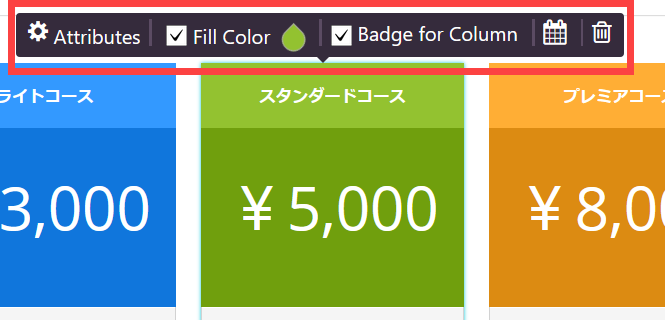
セルのクリック時に表示されるツールバーから背景色や太字などを設定できます。
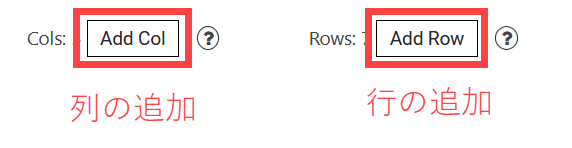
行や列を増やすには、「Add Col」(列の追加)や「Add Row」(行の追加)をクリックします。
不要な列や行はゴミ箱アイコンで作業できます。

間違って削除した場合は「Undo」で削除前に戻ることができます。

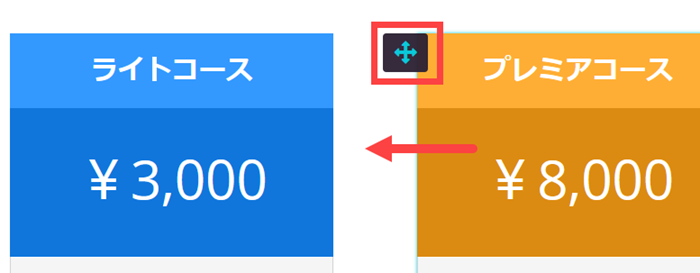
列をドラッグアンドドロップして順番を入れ替えることもできます。
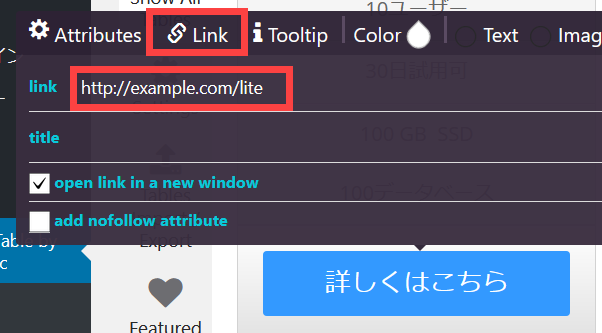
ボタン項目では「Link」をクリックしてリンク先を設定できます。
各セルを編集して完成させましょう。
あとはショートコードをコピーして任意のページにペーストするだけです。
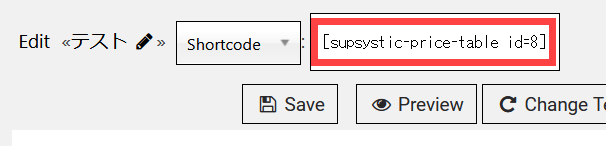
ここでは、固定ページのショートコードブロックにペーストしました。
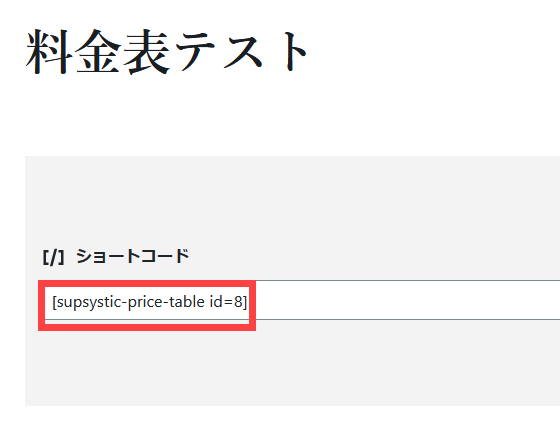
そのページに料金表が表示されます。ちなみに、レスポンシブ対応なのでスマホでは1列表示になります。
以上、Pricing Table by Supsysticプラグインを使って料金表を作成する方法を説明しました。自力でtableタグとCSSを駆使する必要もなく、画面上でテキストを入力したり色を変更するだけで完了するので簡単です。興味がある方は、ぜひお試しください。